Artifactory (NPM)
3 Easy Steps
Teams using JFrog Artifactory can manage access to NES packages through 3 easy steps:
- Create a Remote Repository for our private NPM registry.
- Configure (or create) a Virtual Repository to leverage the newly created Remote Repository.
- Verify your developers are able to access our package through your Virtual Repository.
Important
The Virtual Repository is mandatory as a misconfiguration will lead to Artifactory seeking all NPM packages from us. Failure to configure this correctly may result in suspension of your access token.
Setup Instructions
Create a Remote Repository
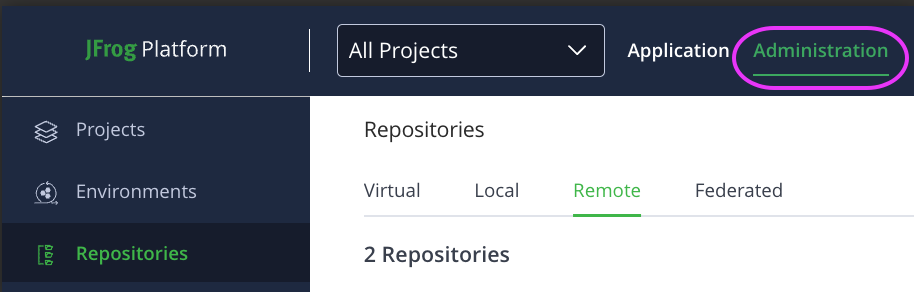
- Navigate to the Administration tab (top navbar next to Application)
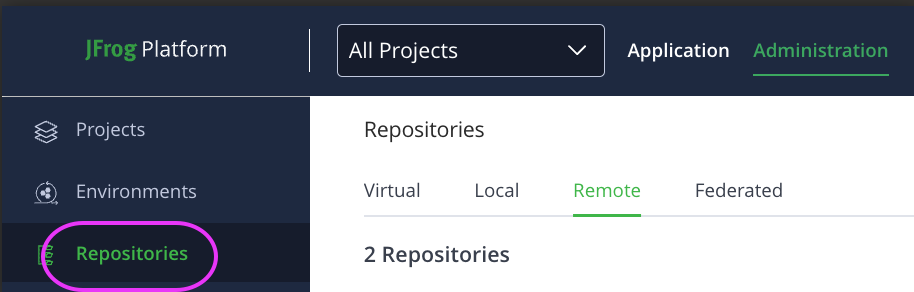
- Select Repositories (left side navbar)
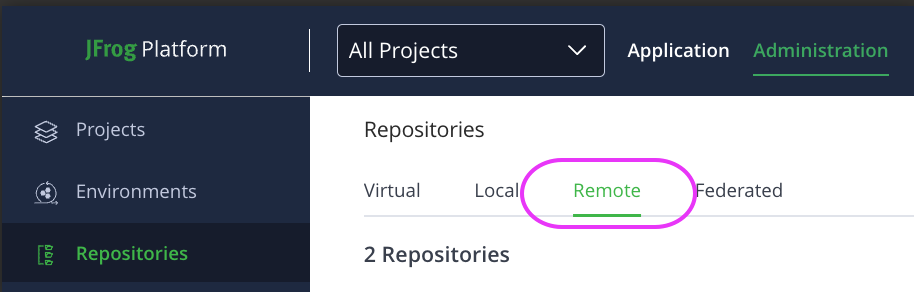
- Navigate to the Remote subtab.
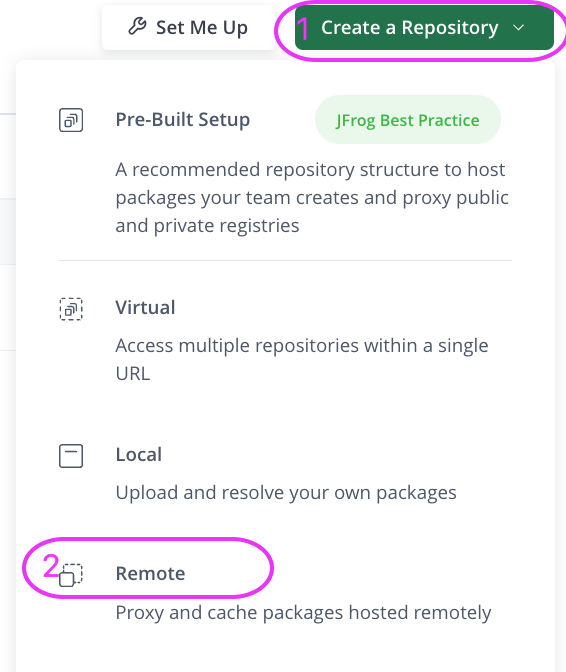
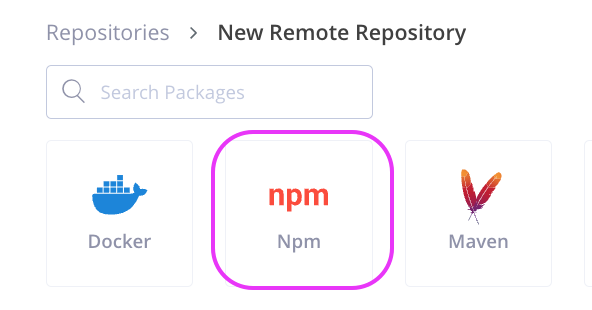
- Select Create Repository > Remote, and then select NPM as the type.
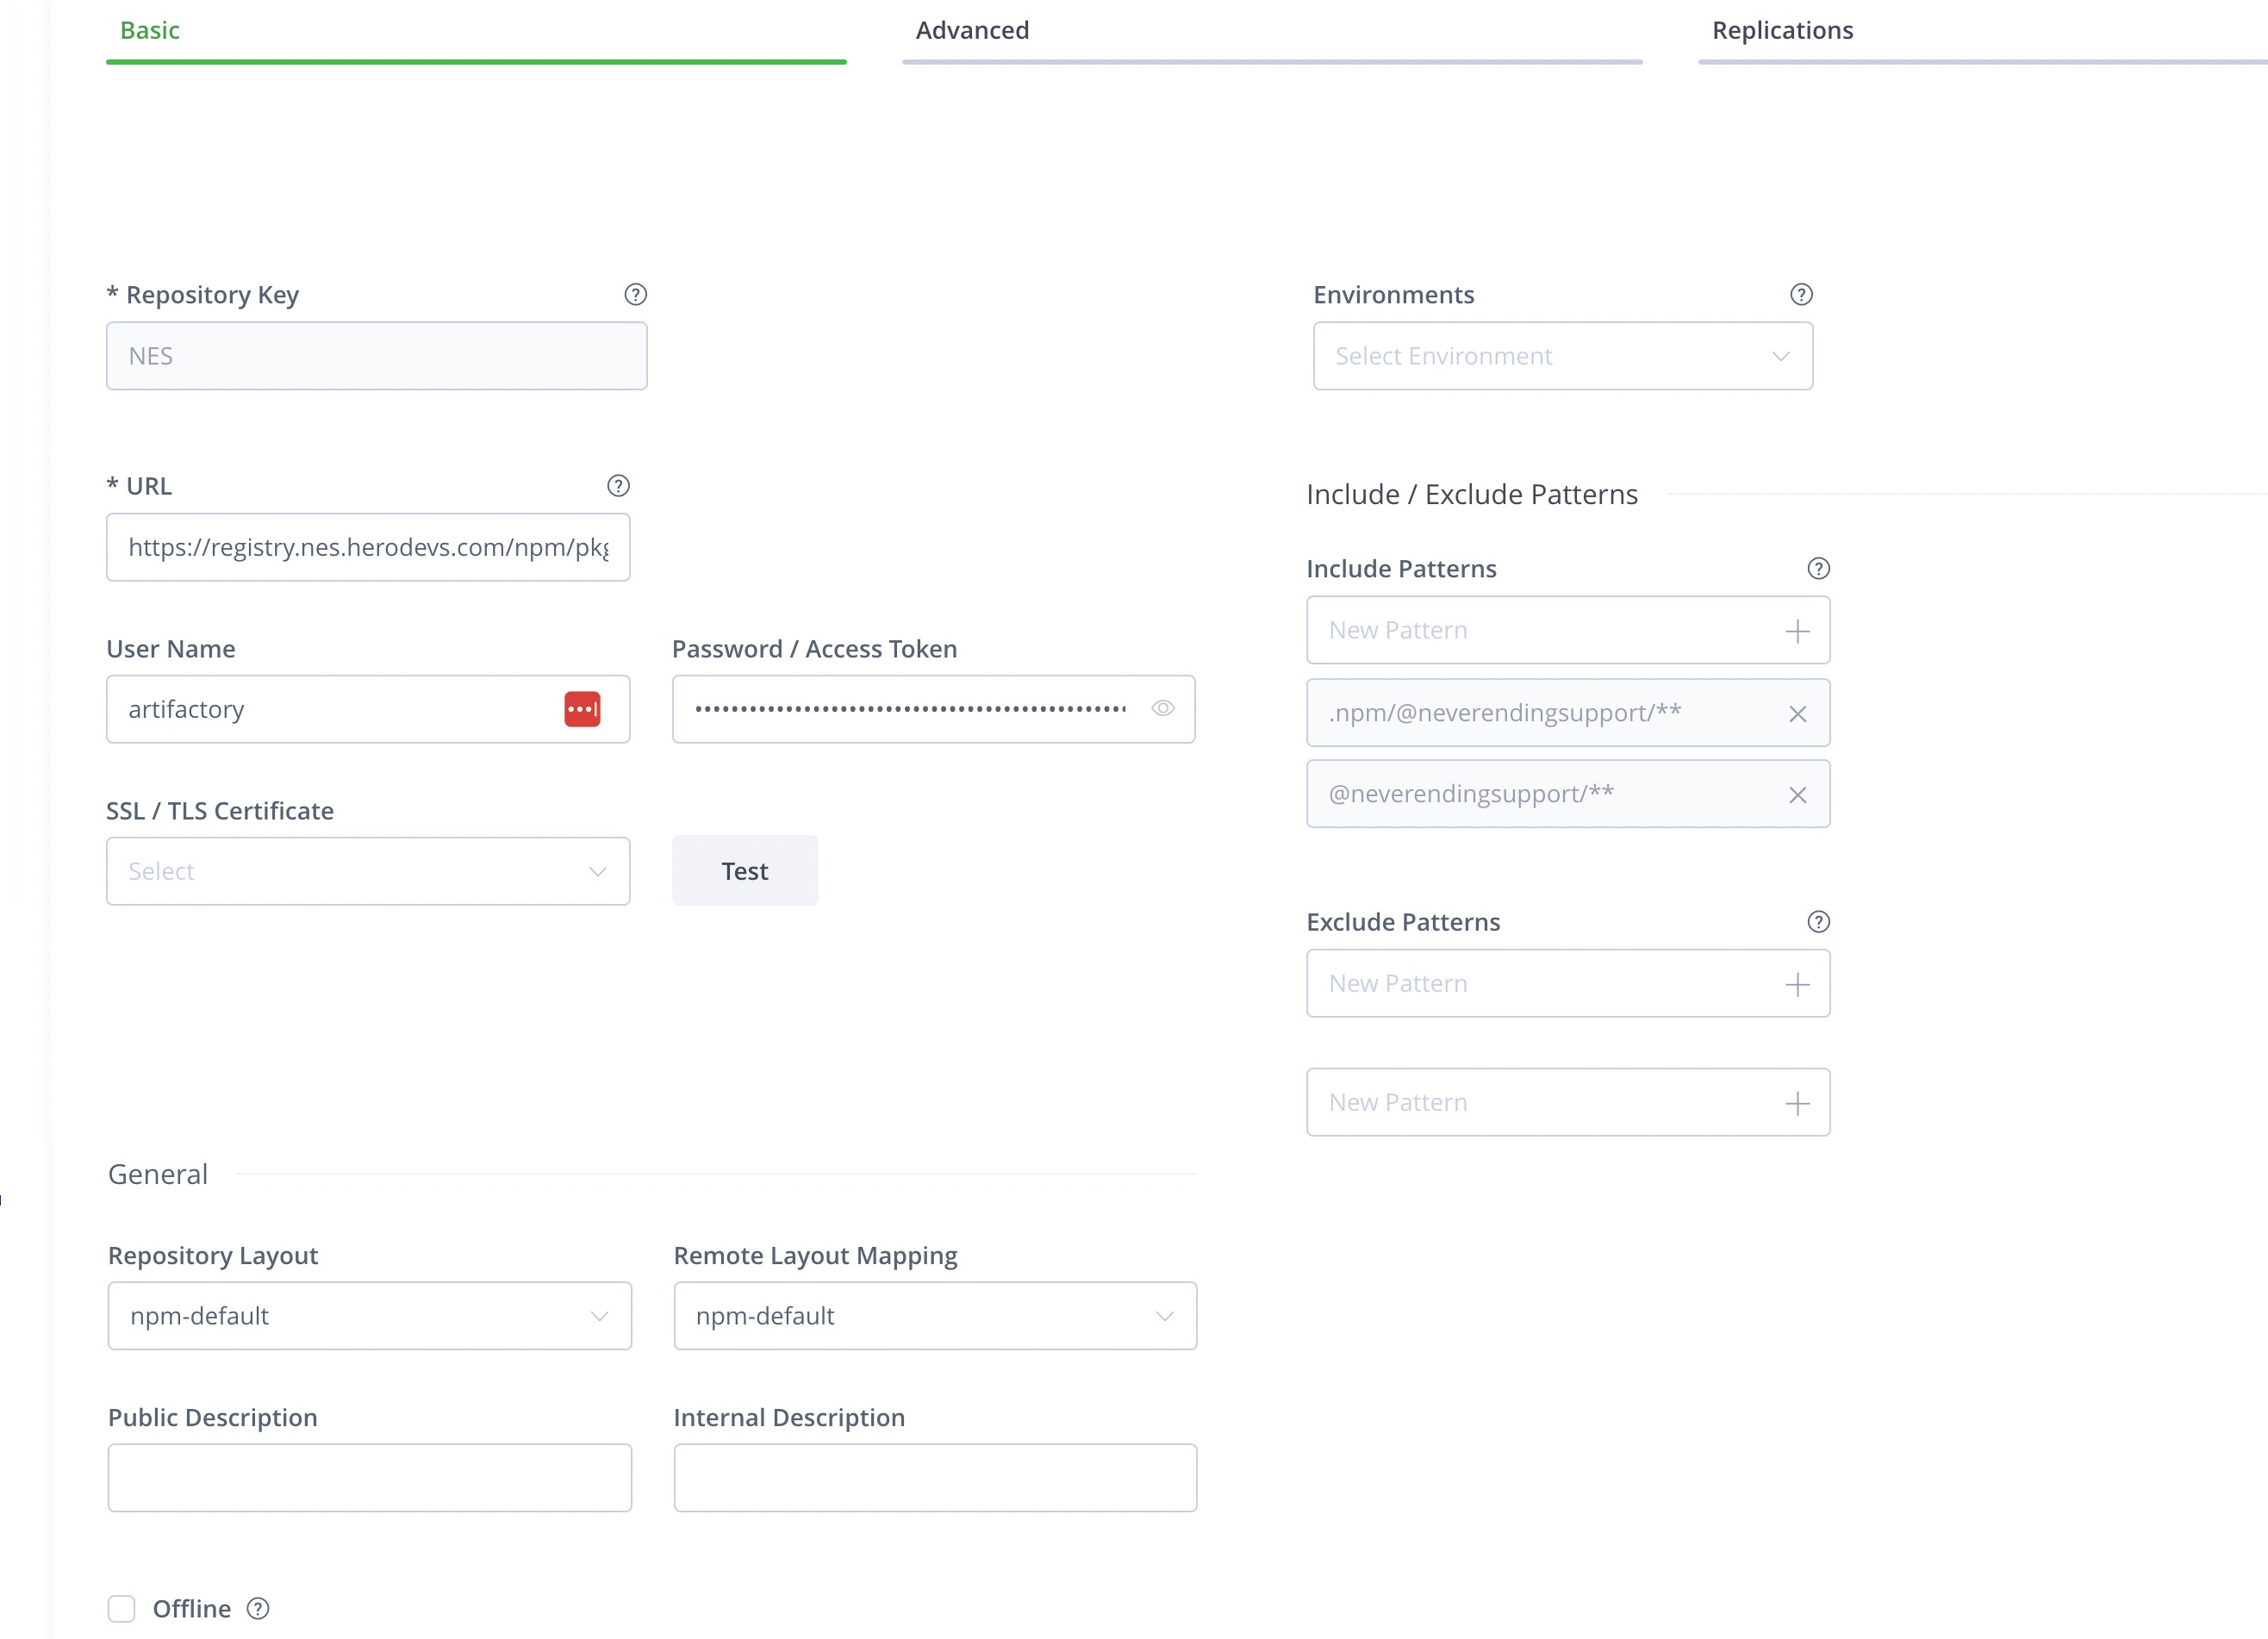
- Configure the following parameters on the Basic tab:
Parameter Value Repository Key nes (or whatever alias your team prefers) URL https://registry.nes.herodevs.com/npm/pkg Username artifactory Password <NES_ACCESS_TOKEN>Include Patterns Click the X to delete the default glob **/*pattern.npm/@neverendingsupport/**@neverendingsupport/**Remote Mapping Layout npm-default - Configure the following on the Advanced tab:
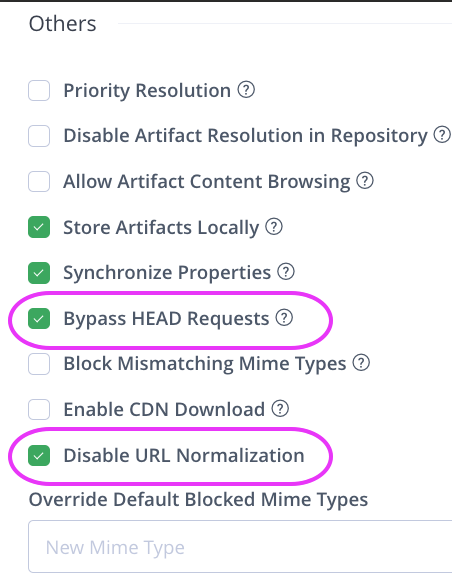
- Ensure Bypass HEAD Requests is checked
- Ensure Disable URL Normalization is checked
The final results should look similar to the following:
Basic
Advanced
Note
Our registry DOES NOT implement every endpoint in the public NPM registry. As such, some Artifactory features may not function as expected, such as the "Test" button or various search features.
Configure a Virtual Repository
In this step, you should configure the virtual repository referenced in the .npmrc files. This step is fairly straight forward, and only requires adding our private NPM registry after the public npmjs.org registry.
If you do not have a Remote Repository configured for npmjs.org
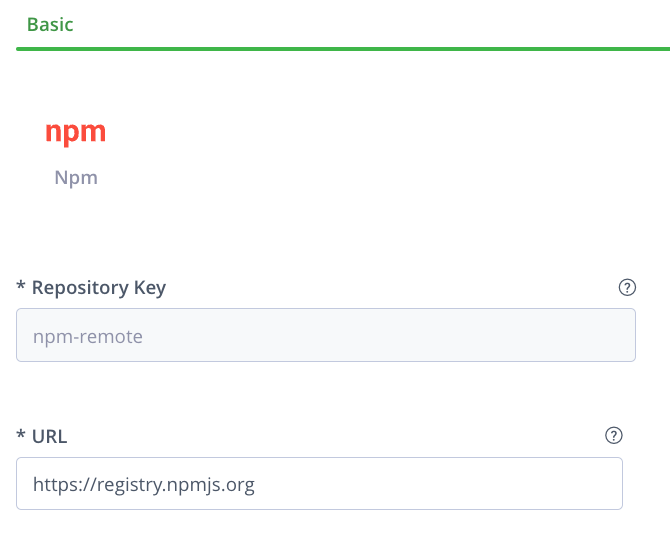
Create a Remote repository with below parameters. Leave the rest of the default set up as is.
| Parameter | Value |
|---|---|
| Repository Key | npm-remote |
| URL | https://registry.npmjs.org |
The result of creating a Remote repository for npmjs.org should look like the following screenshot.
If you do not have a Virtual Repository configured with npm-remote
Follow the steps below to create a new Virtual Repository. If you already have a Virtual Repository created, you can skip this step and proceed to configuring the Virtual Repository.
- Navigate to the Administration tab
- Select Repositories
- Navigate to Virtual subtab
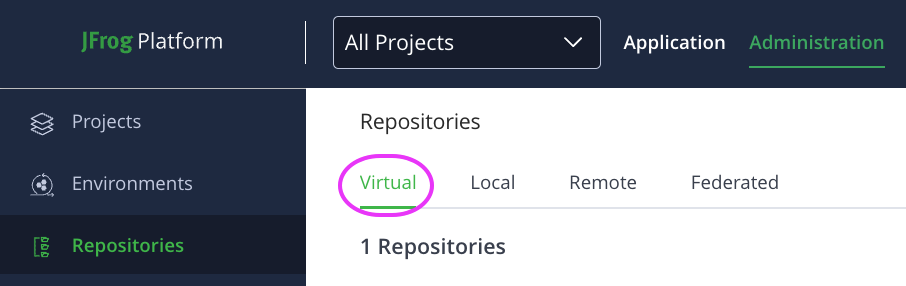
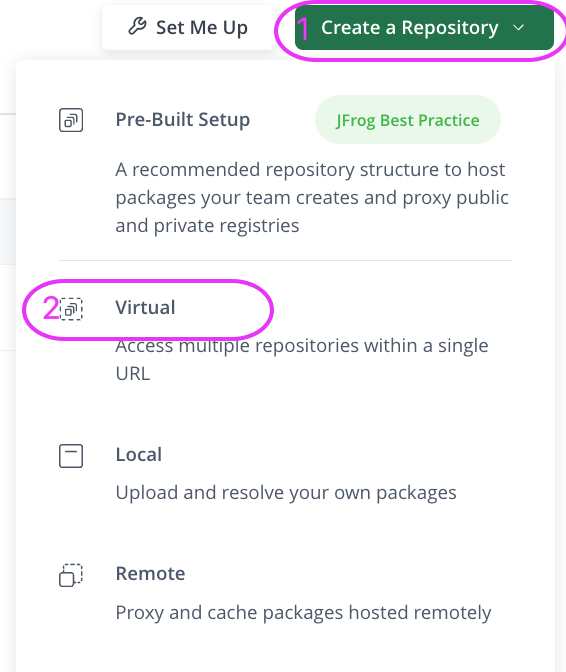
- Select Create Repository > Virtual
Configure the Virtual Repository
The following configuration is required to ensure that Artifactory will properly route requests to our private NPM registry.
The checklist below lists the required configuration for the Virtual Repository.
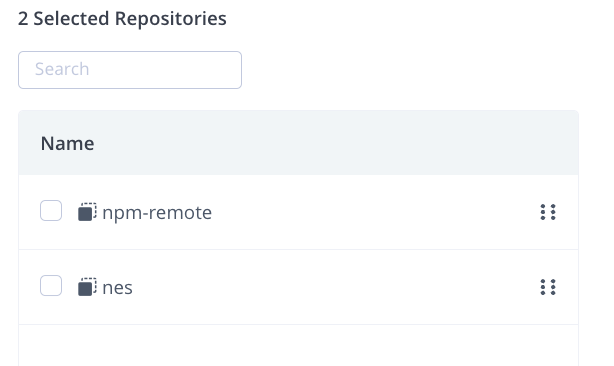
- Ensure "npm-remote" is included in the Selected Repositories section
- Ensure "nes" is included in the Selected Repositories section
- Ensure "nes" is at the bottom of the list
To verify the configuration, in most versions of Artifactory, you should see the following:
Verify Access
Lastly, with your Virtual Repository keyed as npm-default and assuming that you have a valid Artifactory username / password, update your .npmrc file accordingly:
registry=<artifactory_url>/artifactory/api/npm/<virtual_repository_key>/
<artifactory_url>/artifactory/api/npm/<virtual_repository_key>/:_password=<base64_artifactory_password>
<artifactory_url>/artifactory/api/npm/<virtual_repository_key>/:username=<artifactory_email>
<artifactory_url>/artifactory/api/npm/<virtual_repository_key>/:email=<artifactory_email>
<artifactory_url>/artifactory/api/npm/<virtual_repository_key>/:always-auth=true
The above will replace the following if your .npmrc file already contains the following (i.e. you are already using our product and are integrating Artifactory after the fact):
@neverendingsupport:registry=https://registry.nes.herodevs.com/npm/pkg/
//registry.nes.herodevs.com/npm/pkg/:_authToken=<NES_ACCESS_TOKEN>
Once the above steps are completed Artifactory will:
- Attempt to download packages under the
@neverendingsupportnamespace from our private registry. - Fall through to the public
npmjs.orgregistry if the package is not found in our private registry.
The Final Check
- Open a project containing both
@neverendingsupportand a public package in itspackage.json. - Execute an
npm installcommand.
You should see successful output from the npm install command and the downloaded packages should appear in the node_modules directory.